Text to Screen
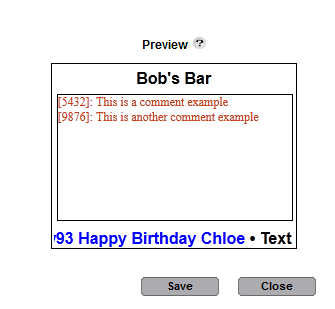
Text to screen
Name: Insert a text to screen name for your own use
Keyword: Select and insert a keyword for your text to screen. This will be the keyword your customers use so they can send their text comments that will appear on the screen. All comments appear in real-time.

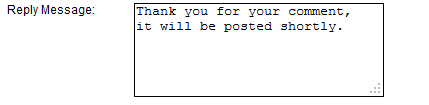
Reply Message: Edit the message your customers will receive after they send in their message.
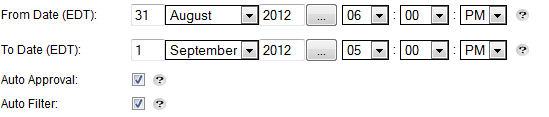
From Date: This will be the start of the time frame your text to screen will be available. Type out what day of the month you want. Select the month and year, as well as the specific hour, minute and either AM or PM from the drop down boxes.
To Date: End of the time your text to screen will be available. Type in what day of the month you want. Select the month and year, as well as the specific hour, minute and either AM or PM from the drop down boxes.
Auto Approval: Check the box to allow comments to automatically be approved and sent to your screen
Auto Filter: Check the box to allow all comments with bad words to be replaced with **** automatically
Choose Opt-in List: You have the option to add customers to an opt-in list when they text to screen. If you do not choose a list, no opt-in will occur.

Display Settings
Screen Title: This allows you to insert a name to the top of your screen
Font Name: Select the font that will be used to display your text
Font Size: Type in the number for the font size that will be used for the comments
Font Color: Click select to choose the color of the comments that will appear
Background Color: Click select to choose the color of the background of the screen